Hello there!
Are you good at filling in and styling your eyebrows? Do you use a professional’s assistance? Until recently I’d been laminating my brows at a beautician’s – and I’m not surprised the treatment is so popular. It’s a very convenient option because I don’t need to style the brows every day worrying if the effect isn’t over the top…
However, I gave up on salon treatments recently. I bought a practical eyebrow lifting and lamination kit from Nanobrow – it proved a success right off 🙂 I actually enjoy doing brow lamination myself!
Eyebrow lamination – is it worthwhile?
Sure it is! Especially when you want long-wear brow makeup and no more unruly bushy brows. Let’s remember that brow lamination isn’t a merely beautifying treatment but also a way to nourish and revitalize eyebrow hair.
It’s time you said NO to all sparse areas and dry, dull brows sticking out!
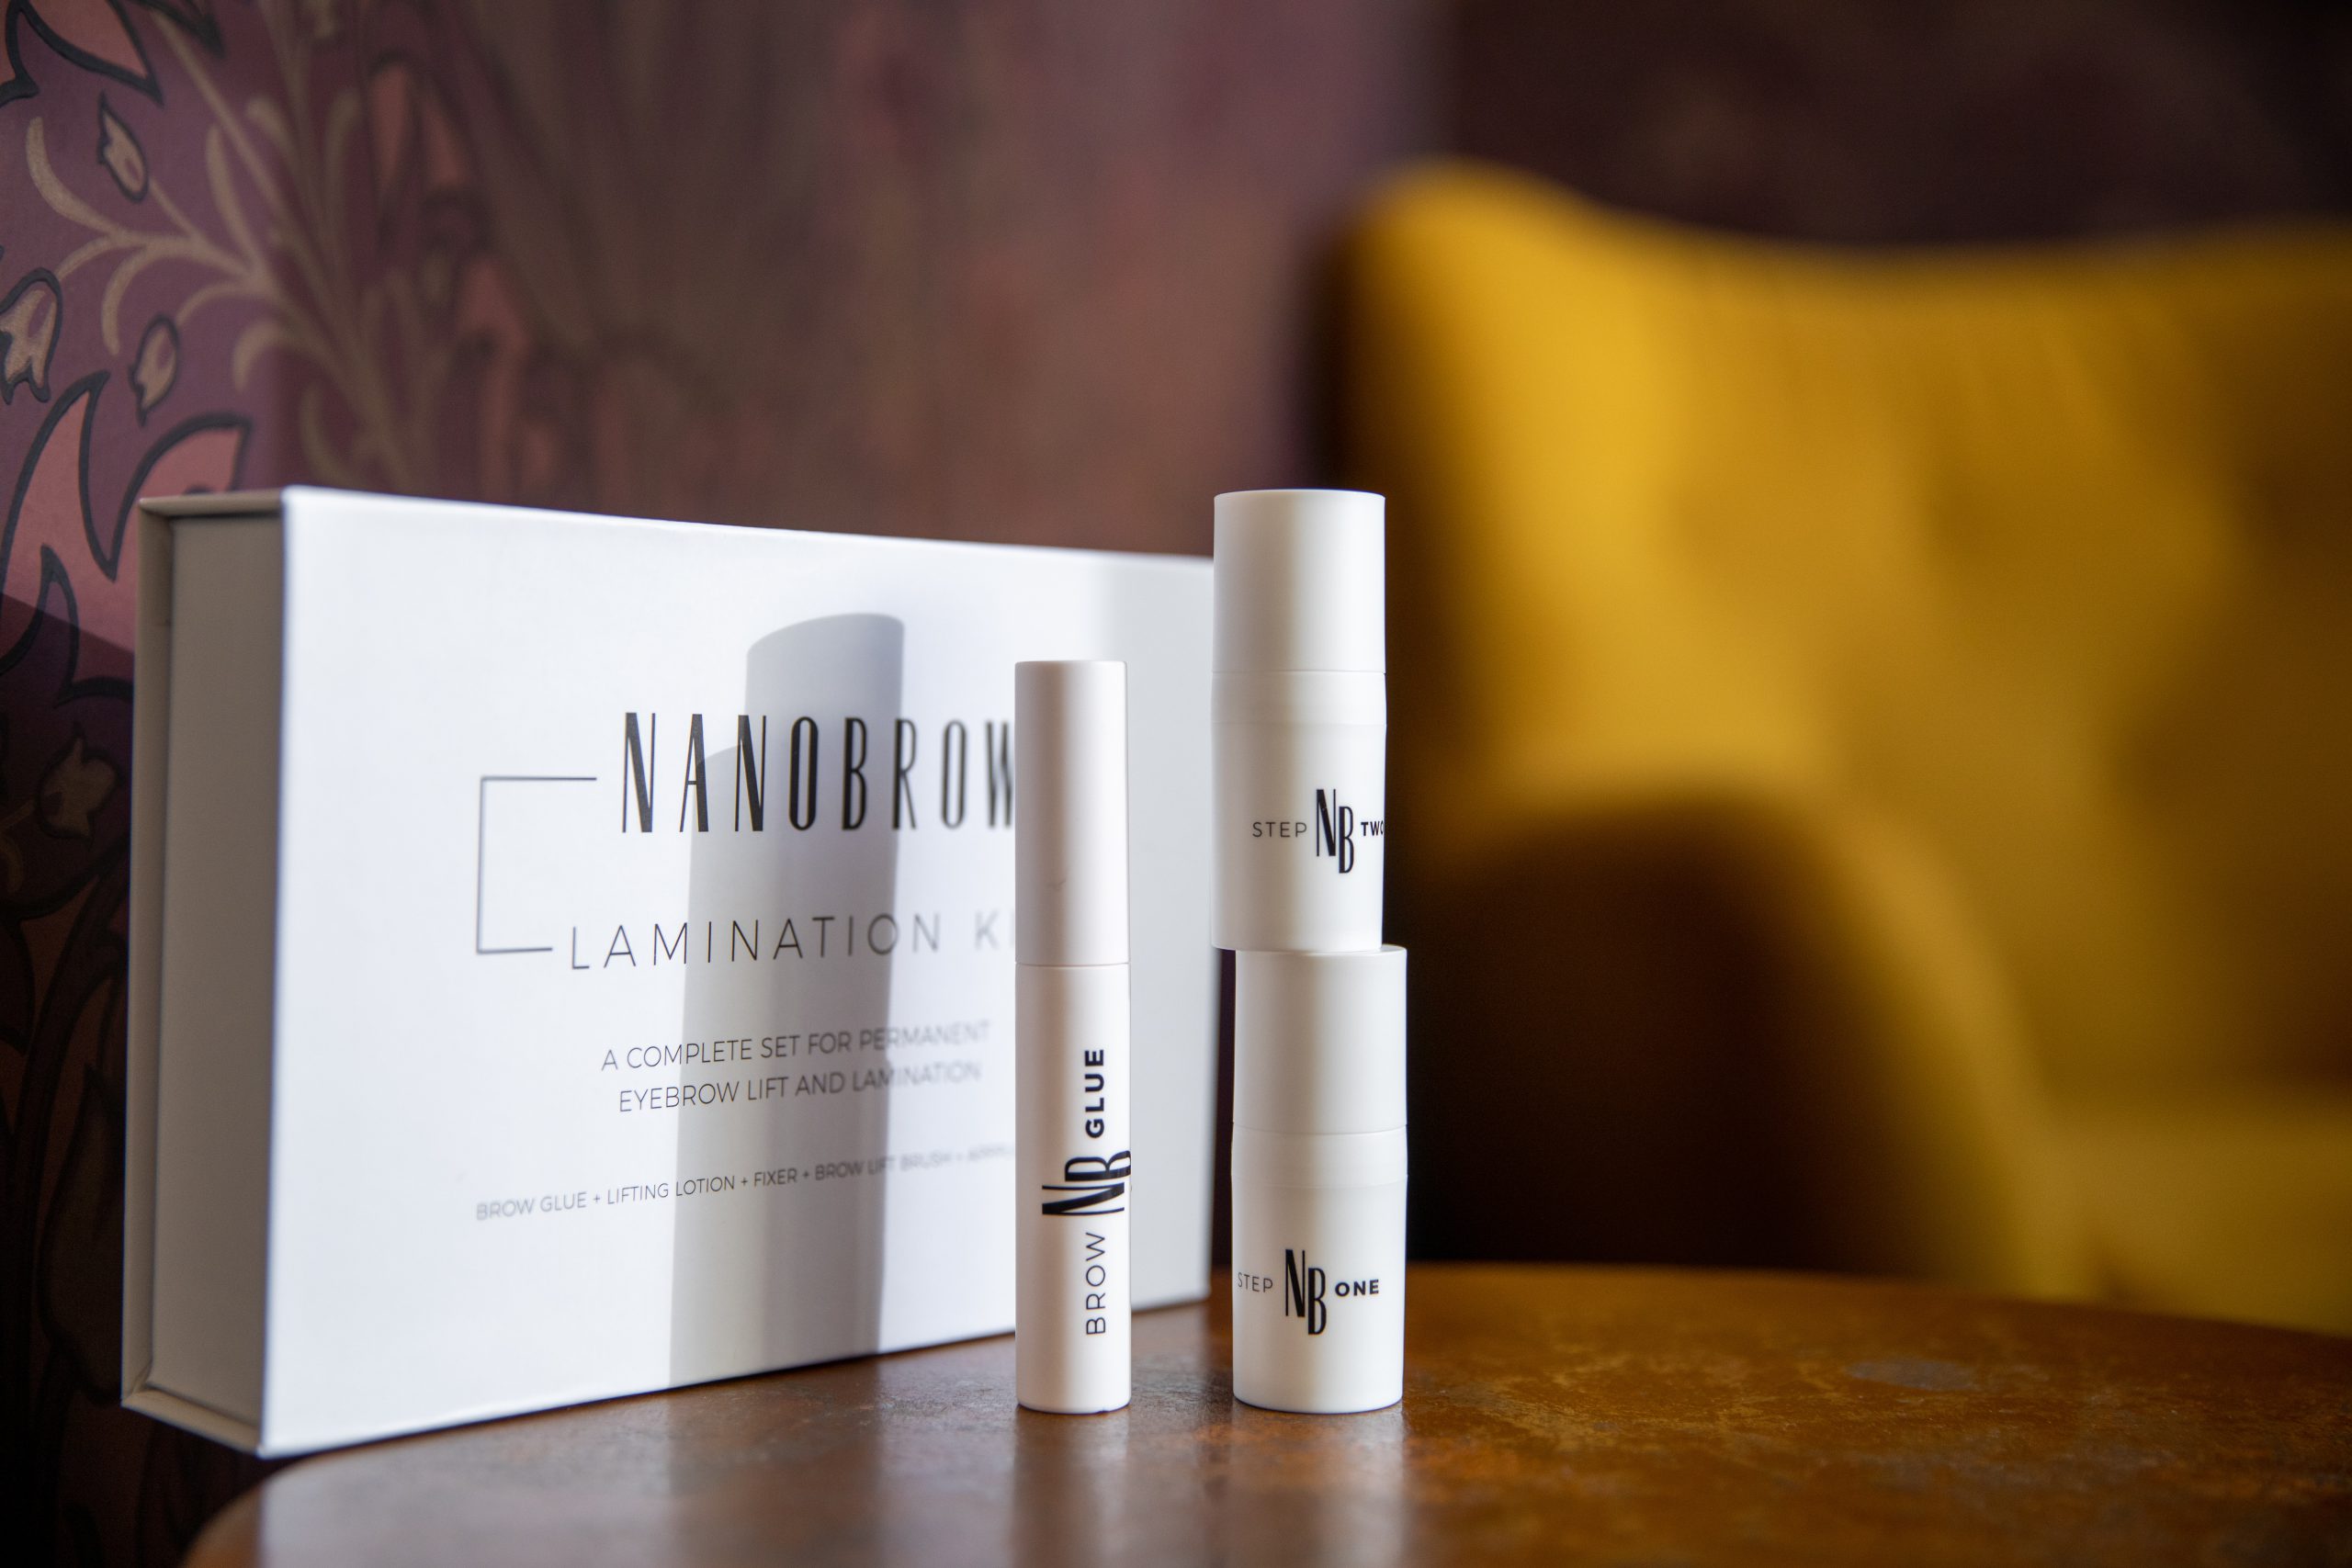
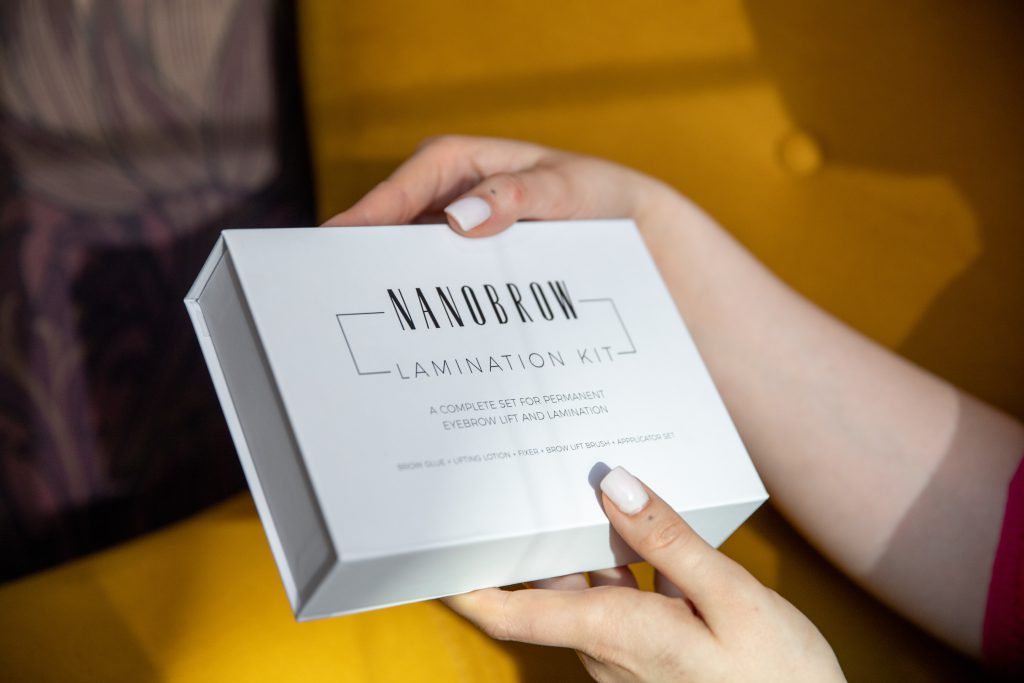
Nanobrow Lamination Kit – my way to enjoy defined brows every day
At-home eyebrow lamination can be a really easy task. I know that because that’s my experience with the brow lamination kit from Nanobrow. It’s easy to use and I have no doubts each of you will do the treatment effortlessly.
The product provides thick and defined eyebrows that have a nice shape and stay in place for many weeks (effects on my eyebrows last for around 6 weeks which is great, I think).
Using the eyebrow lift and lamination kit from Nanobrow allows me to camouflage all sparse areas and define the brows including the shortest hair.
How to laminate brows using the Nanobrow eyebrow lamination kit?
Nanobrow Lamination Kit includes numbered bottles and comfortable to use applicators. What does at-home eyebrow lamination involve? What steps do I follow?
- First I cleanse the skin and degrease the brow area using an oil-free micellar water.
- Next I take the glue and apply it on the hairs, and wait for 25 to 50 seconds.
- Applying the lifting solution is another step. I do that using a handy brush that comes with the set. I give brows the desired shape.
- I wait for 5 to 8 minutes and remove the solution with a dry cotton pad.
- I apply the last solution and keep combing the brows into desired shape. I wait for 5 to 8 minutes and remove it with a wet cotton pad.
- Last of all, I comb through brows again.
- DONE! 🙂
Benefits of laminating brows using the eyebrow lifting and lamination kit from Nanobrow
- I make brows thicker and more voluminous easily,
- I don’t need it done by an esthetician anymore,
- I’m not worried about unruly hairs and I know my brows always look neat,
- end to everyday brow filling,
- amazing effect of thicker and fuller brows for around 6 weeks.

At-home eyebrow lamination kit Nanobrow Lamination Kit – where to buy it?
I bought it through www.nanobrow.co.uk but I’m sure you’ll find some drugstores selling eyebrow lamination kits – Sephora or Boots?
And finally some product size details:
Brow glue (7ml / 0.24 fl oz), StepOne Lifting lotion (5ml / 0.17 fl oz), StepTwo Fixer (5ml / 0.17 fl oz).
How about you? Are you a fan of eyebrow lamination or filling in the brows with a brow pencil or marker? Let me know!
Bye bye!