Which of us doesn’t dream of long eyelashes without using an eyelash curler and multiple coats of mascara? I also had a problem with my short eyelashes. I wasn’t happy with their thickness and curl. I tried to care for them but the results were highly questionable. That’s why I chose Nanolash Lash Lift Kit and carried out lash lamination at home. How did it work?
Nanolash Lash Lift Kit – a lash lamination kit that wowed me!
Girls, I have to admit that I’m usually very strict when it comes to reviewing lash products. I’ve been approaching producers’ promises with caution. It’s a known fact that in marketing, all tricks are allowed, and customer satisfaction can often go down the drain.
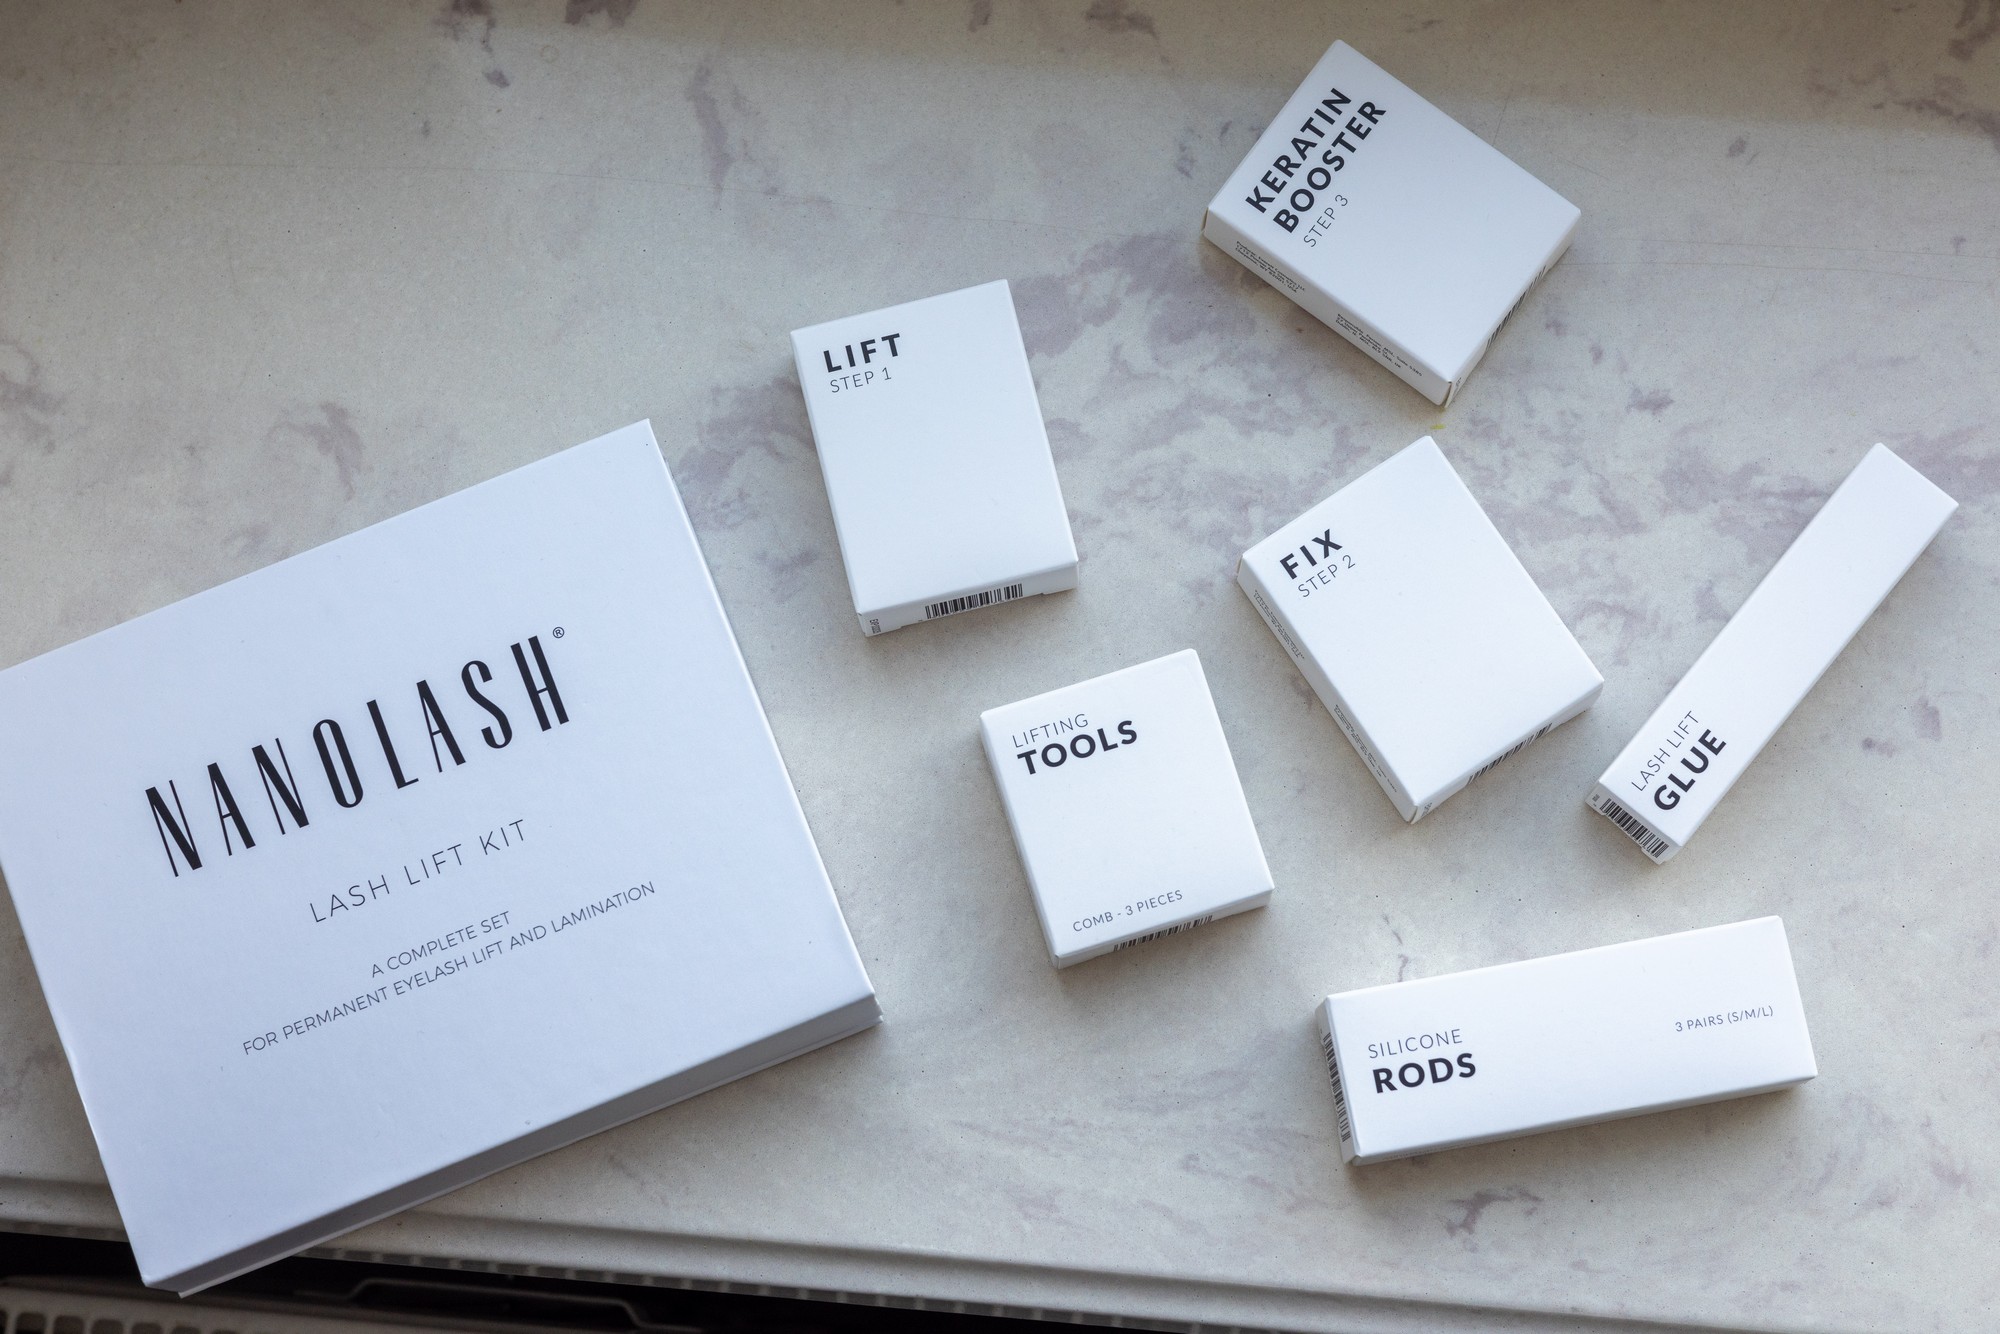
However, in the case of Nanolash lift and lamination kit, I couldn’t find anything that would bother me. After receiving the product, I literally found everything I needed in it. Specifically, I’m talking about:
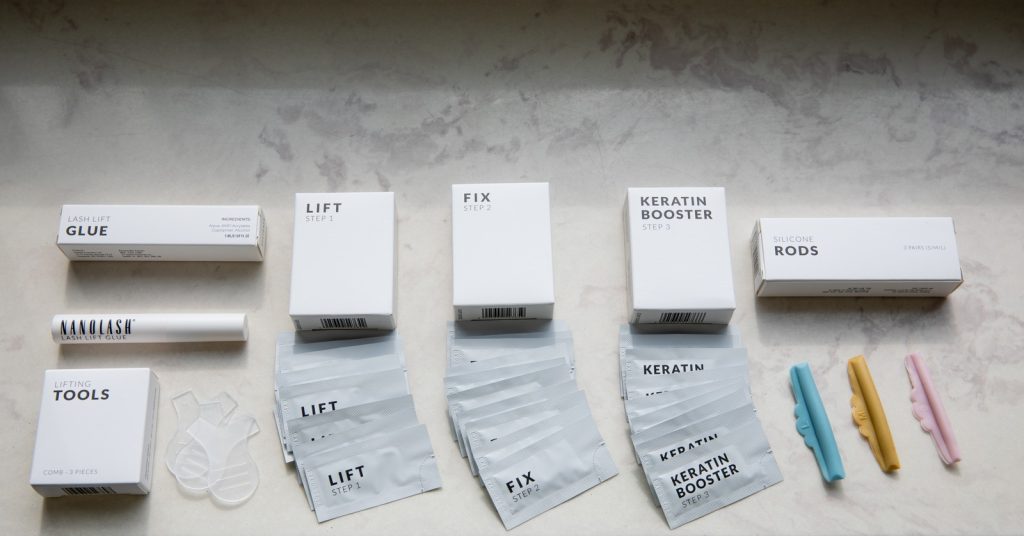
- 3 eyelash lamination products in 0.5-milliliter sachets;
- 3 pairs of silicone rods in 3 sizes;
- Lash Lift Glue in a capacity of 5 milliliters;
- other accessories.
Dear readers! You absolutely must take note that the box contains 30 sachets. You get 10 of each product. This means that one kit will enable you to perform lash lamination at home 10 times. This, in turn, is an extremely economical solution.
The second advantage of the lash lift kit from Nanolash is that the formulas contain a range of nourishing ingredients and vitamins. I probably don’t need to explain how coconut oil or Abyssinian oil works. It is because of them that the Nanolash Lift Kit can deeply nourish eyelashes and repair their structure.
Laminating eyelashes at home with Nanolash Lash Lift Kit – quick and easy
If you’re still wondering why I’m raving about the Nanolash Lift Kit, I’ll get straight to how the treatment is performed. It’s simple enough that even I, as an amateur, didn’t have any trouble with it.
Of course, I had to prep my lashes properly. Leaving mascara or other products on them would make it much more difficult for the nourishing ingredients to penetrate. After that, I separated the top and bottom lashes using eye patches and was ready to carry out the treatment. I chose the L-size rods as I like a defined effect.
My application with the Nanolash Lash Lift Kit went as follows:
- I attached the rods with Lash Lift Glue – I tried to do this as close to the lashes as possible;
- I applied the first product – Lift – Step 1- from the root to the ends of the lashes so that they gently stuck to the rod;
- after 10 minutes, I washed the product off with a dry applicator and applied Fix – Step 2;
- again, I waited 10 minutes and washed it off with a wet applicator;
- I applied Keratin Booster – Step 3 and also waited the required time;
- I washed it off and gently peeled off the silicone rods.
It only took 30 minutes to complete the entire treatment. The whole process was simple and I think all of you will be able to handle it.
What lash-lifting results did I achieve with Nanolash Lash Lift Kit?
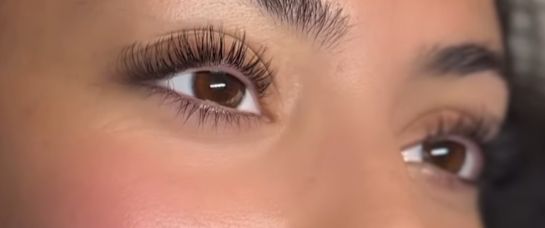
Let’s move on to the effects. I carefully examined my eyelashes both before and after my at-home lamination. After removing the rods, I noticed a dramatic change. First of all, my lashes looked noticeably longer. This made me very happy. I think they were also thicker, not to mention the curl, which became extremely expressive.
As for the condition of the eyelashes, I have to say that it also improved significantly. I noticed that the lashes felt soft and pleasant to the touch. When I applied mascara the next day, one coat was completely sufficient. I also didn’t use an eyelash curler.
In a word, Nanolash Lash Lift Kit allowed me to achieve spectacular results without leaving home. I highly recommend it to all of you and encourage you to check it out for yourself!